
Christmas Tree Bauble
- Rachael Forshaw
- May 3
- 4 min read


🎄 Introduction
Bring a touch of handmade magic to your Christmas tree this year with my crochet bauble pattern. 🎄
This sweet and simple design works up quickly, making it perfect for last-minute decorating or adding a special handmade touch to your festive setup. Whether you’re creating a full set or gifting a single bauble 🎁, this pattern is sure to become a holiday favourite. ✨
✨ About the Design
We will start by making one side of the bauble using a swirl pattern, then repeat for the second side before attaching them around the bauble.
🧶 Skill Level
This pattern is suitable for beginner crocheters.
You’ll need to be familiar with:
Basic increases
Working in the round
🪡 Materials
Yarn (DK, worsted, 8ply, or your preferred weight) for all parts
3.5mm hook or hook suitable for your yarn
Tapestry needle
Stitch markers
Scissors
Old bauble with a top preferably like the photo otherwise stuffing

📏 Size
This will fit a standard size bauble.
Gauge: 22sts x 12rows = 10cm/4". Worked over double crochets using a 3.5mm hook.
Gauge isn’t too important for this project, as you can easily adjust the size to suit your preference. This also means you’re free to use any yarn you like. I wouldn’t recommend going much heavier than a 10-ply/Aran/Weight 4 yarn though, as anything thicker may affect the overall look and shape. Make sure to match your hook size with your chosen yarn.
🪡 Terminology
Written in US crochet terms
Pattern is written in English
Standard abbreviations are used throughout
O = Fasten off
MR = Magic Ring
ch/s = Chain/s
cont = Continue
dc = Double crochet
hdc = Half double crochet
inc = Make 2 double crochets in 1 stitch
rep = Repeat
sc = Single crochet
sk = Skip
sl st = Slip Stitch
st/s = Stitch/es
tog = Together
** = Repeat everything in between **
[] = Stitch count - includes chains
💡 Tips Before You Start
Keep your tension consistent for the best shape
Use stitch markers to keep track of your rounds
📌 Share Your Makes
I LOVE seeing your creations 🥹
If you make your own christmas bauble, don’t forget to tag me on Instagram @byrachforshaw so I can share your work!
💌 Pattern Notes
This is a free crochet pattern for personal use only
Please do not copy, redistribute, or sell this pattern
You are welcome to sell finished items made from this pattern—credit is always appreciated
CHRISTMAS TREE BAUBLE
PART ONE
CIRCLE
We are going to work in a spiral using dcs. I recommend using st markers.
The starting ch 1 does not equal a st. The st count will be seperate for each colour.


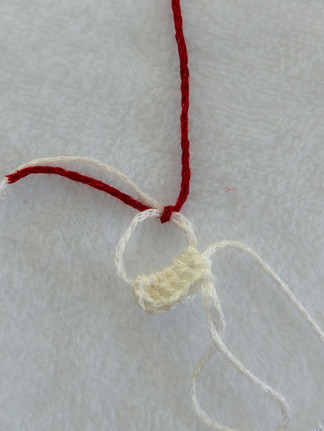


1.1. White - Create a MR and ch 1.
6 dc in MR. Pull out a long loop.
[6]
1.2. Tie red yarn to MR.
1.3. Ch 1 and work 6 dc in MR.
[6]
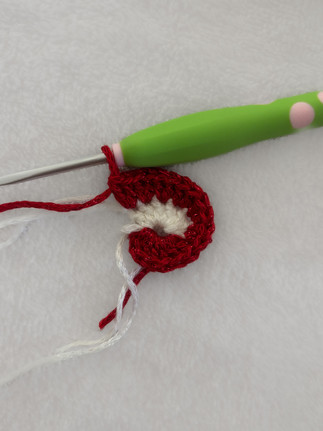
We will cont on with the red yarn working our next sts on top of the white.
2.1. Inc x 6. Pull out a long loop.
[12]
Switch back to white.
2.2. Inc x 6.
[12]
Place st markers in the last st on both sides.
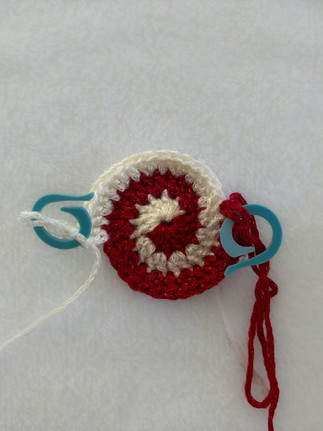
Please note: The following steps will be repeated for second colour.
3. *Dc, inc* x 6.
[18]
4. *Dc, inc, dc* x 6.
[24]
If you would like to make a larger bauble, cont on increasing your sts evenly for each row. For example;
Row 5 - Dc x 3, inc x 6.
Row 6 - Dc x 2, inc, dc x 2 x 6.


Bear in mind the circles will stretch quite a bit.
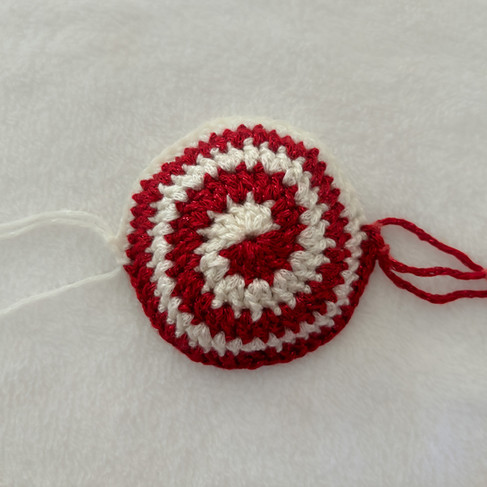
5. Dc x 12. Hdc x 6. Sc x 6.
[24]
Your circle should start to curl.
If you have made your bauble larger, instead of row 5 to finish, simply dc for half of your st count left, hdc for a quarter of the st count and then sc for the final quarter of your st count.
FO off the red leaving a couple of inches and cut the white leaving a long tail. Rep for second circle.
PART TWO
ASSEMBLY

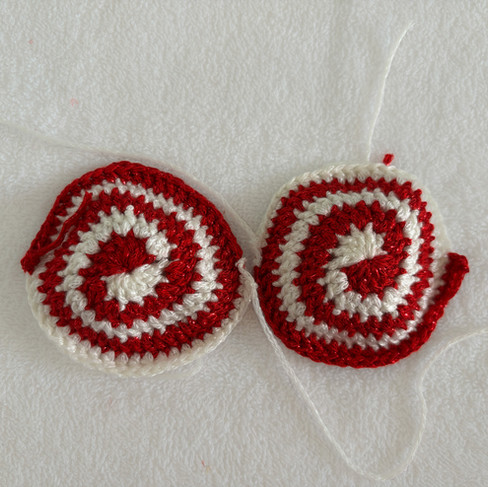


Line up your circles like so with the white touching or whichever colour you left tails on. Take your right circle’s tail and thread it back to front though the first red st on the left circle.
a. Thread through the next st on both pieces. I like to rep this for the first sts to make it secure.


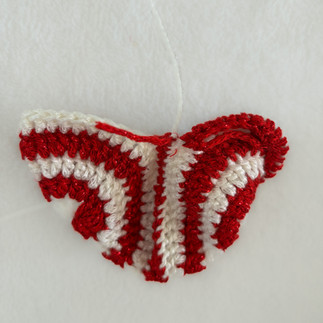


b. Rep all of the way until the end.
c. Thread into the st under the red sc on the right.
d. Tie in a double knot with the red tail on the left. You can also thread the right red tail through the next st to the left, and tie in a double knot with another tail to keep it secure.
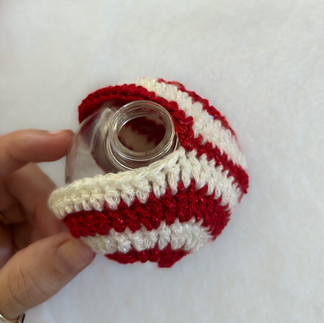
e. Insert the bauble and push the opening towards the join with the ends on the inside. If you are using stuffing, we can leave this step for now and join the other side first.
f. Take the tail from the bottom of the bauble and thread it back to front through the next st on the left circle.
g. Rep the steps attaching this side tog until you can’t anymore. If you are using stuffing, leave a small hole and stuff before closing up.
h. Double knot the tail around itself and weave in the end.
i. Pop the top of the bauble back on and you’re all done.
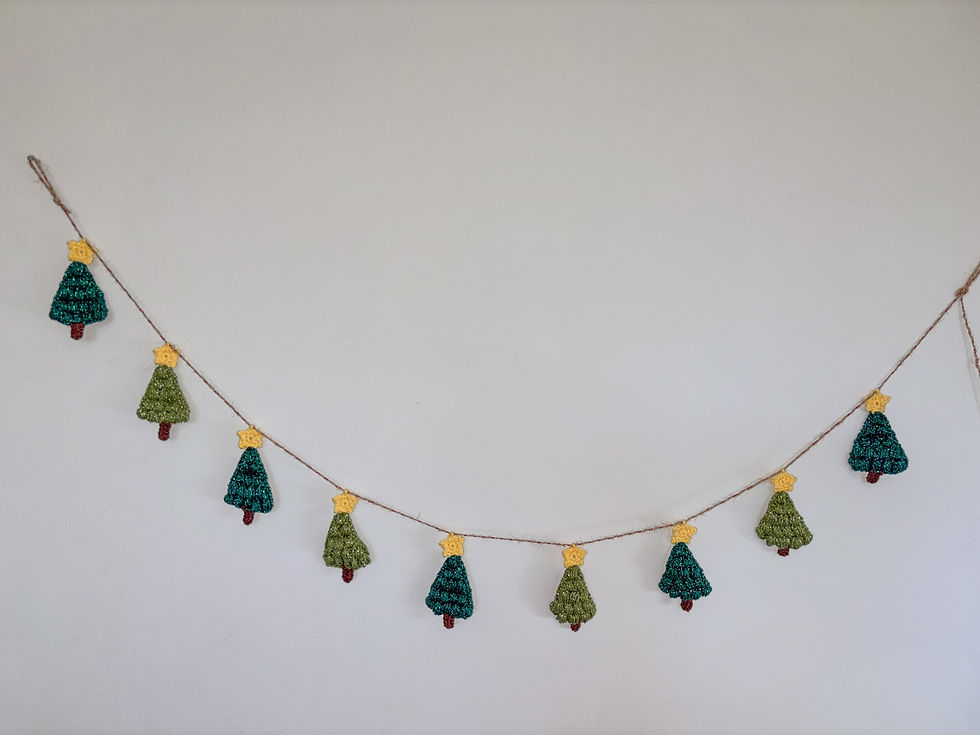
Go ahead and make as many as you like, in any colour combination that suits your style. I love upcycling old baubles that need a little love plus they’re perfect as little gifts, and they also make great sellers at markets.


You're all finished! :-)
Comments